Sinopé TH1300ZB
Floor heating thermostat
A Zigbee 3.0 thermostat for electric floor heating cables and mats up to 3600 W at 240 V, with a floor sensor, a built-in Class A ground fault interrupter and an auxiliary output. It reports the floor, room and heating energy readings.
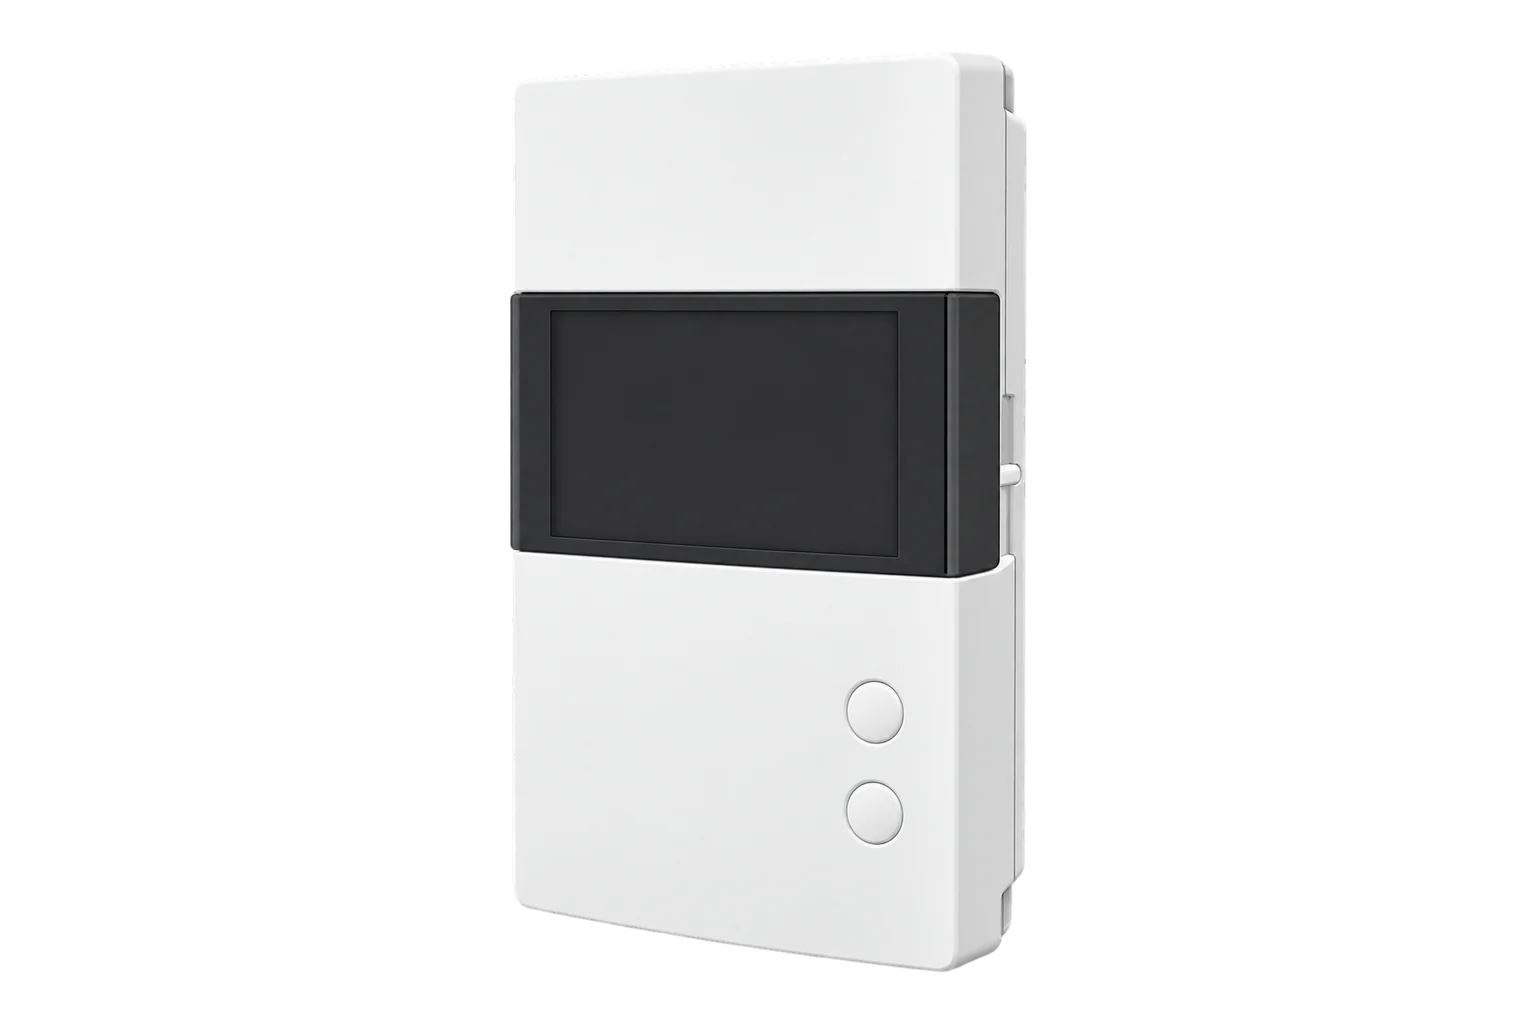
- Zigbee
Floor heating thermostat
Compatibility
Compatible with EpiSensor Edge over Zigbee.
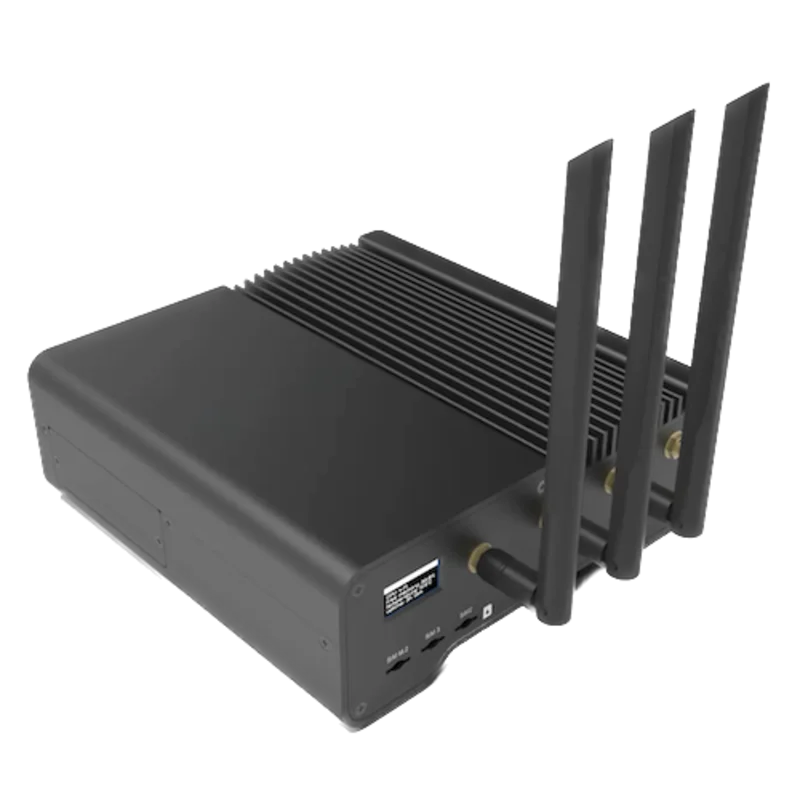
Pair it with the Zigbee radio on an EpiSensor Gateway. Edge reads it locally on the Gateway.
Edge reads 20 values from it, listed under Interface.
Connect it with
-
Gateway ZGW-20From €899 ex VAT Configure Gateway
Specifications
The TH1300ZB is a line-voltage thermostat from Sinopé Technologies for electric underfloor heating: heating cables and heating cable mats. It runs on 120, 208 or 240 V AC at 50 or 60 Hz and switches up to 15 A, which is 3600 W at 240 V, 3120 W at 208 V or 1800 W at 120 V. A floor sensor is in the box, and it accepts any 10 kΩ or 12 kΩ sensor.13
- Power
- Mains. Powered from the floor heating circuit it controls, so it needs no battery or separate supply.1
- Supply voltage
- 120, 208 or 240 V AC, 50/60 Hz1
- Maximum load
- 15 A: 3600 W at 240 V, 3120 W at 208 V, 1800 W at 120 V1
- Compatible heating
- Electric floor heating cables and cable mats1
- Ground fault protection
- Class A GFCI, 5 mA trip, with automatic self-test2
- Control modes
- F (floor, default) or A (air)2
- Setpoint range
- 5 to 36 °C1
- Display range
- 0 to 50 °C1
- Resolution and accuracy
- ±0.5 °C3
- Control cycle
- 15 minutes3
- Floor sensor
- Included; 10 kΩ or 12 kΩ at 25 °C1
- Auxiliary output
- 24 V AC/DC, 0.1 A: second heating stage or TR1310 expansion units1
- Expansion
- Up to 10 TR1310 expansion units2
- Storage temperature
- -20 to 50 °C1
- Wireless
- Zigbee 3.0, 2.4 GHz, +20 dBm transmit, -108 dBm receive sensitivity, AES-1281
- Certification
- TB713-C base: ANSI/UL 943; CAN/CSA C22.2 No. 144.11
- Warranty
- 3 years1
Where it is used
Floor heating energy per room in hotels, apartments and offices, from each thermostat’s own power and energy readings.
HVAC energy monitoring for commercial buildingsFloor and room temperature records in bathrooms and kitchens heated by the floor.
Indoor environmental monitoringLowering floor heating setpoints across a building for a peak period, then restoring them.
Interface
Readings and settings, with units and ranges where Sinopé publishes them. readable, readable and writable.6
| Reading | Unit | Range or values | Access |
|---|---|---|---|
| Measurements 9 | |||
| Regulated temperatureThe thermostat’s main temperature reading. | °C | - | Read only |
| Floor temperatureFrom the floor sensor. | °C | - | Read only |
| Room temperatureAir temperature at the thermostat. | °C | - | Read only |
| Heating demandHeating output the thermostat’s control loop is calling for. | % | 0 to 100 % | Read only |
| Heating stateWhether the output is heating. | - | idleheat |
Read only |
| PowerPower drawn by the heating cable. | W | - | Read only |
| VoltageSupply voltage at the thermostat. | V | - | Read only |
| CurrentCurrent through the heating cable. | A | - | Read only |
| EnergyCumulative energy delivered to the floor heating. | kWh | - | Read only |
| Controls 2 | |||
| Occupied setpointTarget temperature while occupied, in 0.5 °C steps. | °C | 5 to 36 °C | Read and write |
| ModeHeating on or off. | - | offheat |
Read and write |
| Settings 9 | |||
| Unoccupied setpointTarget temperature while unoccupied, in 0.5 °C steps. | °C | 5 to 36 °C | Read and write |
| OccupancyWhich of the two setpoints applies. | - | occupiedunoccupied |
Read and write |
| Second displayWhat the small line of the display shows. | - | autosetpointoutdoor temp |
Read and write |
| Outdoor temperature shownAn outdoor temperature written to the thermostat for its display. | °C | -99.5 to 99.5 °C | Read and write |
| Outdoor temperature timeoutHow long a written outdoor temperature stays valid. | s | 30 to 64,800 s | Read and write |
| Display unit | - | celsiusfahrenheit |
Read and write |
| Time format | - | 24h12h |
Read and write |
| BacklightBacklight dimming: on demand or sensing. | - | on_demandsensing |
Read and write |
| Keypad lockLocks the thermostat’s buttons. | - | unlocklock1 |
Read and write |
Occupied and unoccupied heating setpoints are written in 0.5 °C steps from 5 to 36 °C. System mode is off or heat.6
Floor and room temperature cannot be set to report on their own. They are read once when the thermostat joins, then refreshed each time it reports its main temperature.6
Voltage, current and power come from the standard electrical measurement cluster, and the energy total from the metering cluster, in kWh.6
Control mode, floor limits, sensor type and the auxiliary output are set on the thermostat’s own menu.2
Setup
-
Fit the floor sensor
Connect the floor sensor to the thermostat. It is needed in F mode and for any floor limit in A mode. Sinopé suggests laying a second sensor in the floor at installation as a spare.2
-
Wire it with the heating off
Switch off the breaker. Connect the heating cable to the load and line connectors on the back of the thermostat, the ground wire to the screw in the electrical box, and fix the thermostat to the box. Sinopé requires a certified electrician.2
-
Power up and test the GFCI
Replace and lock the cover and restore power. After its test sequence it shows the floor temperature. Press TEST: the RESET light must turn red. Press RESET to restore the heating.2
-
Join the Zigbee network
Open pairing on the Gateway’s Zigbee network in Edge, then press the thermostat’s two buttons briefly at the same time. The network icon blinks while it connects and stays lit once it has joined.2
-
Check one reading
Confirm that Edge identifies it as a Sinopé TH1300ZB and that the floor temperature is plausible. Raise the setpoint and check that power rises to the cable’s rated load.
Common questions
- Does the TH1300ZB need a floor sensor?
- In F mode, the default, yes: without one the display shows E1F. In A mode it regulates the room temperature and only needs the floor sensor for the floor limits. One sensor is supplied.12
- Is ground fault protection built in?
- Yes. It has a Class A GFCI that trips at 5 mA and tests itself periodically. If the RESET light comes on, press RESET; if it trips again, switch off at the panel and have the installation checked.2
- Can it protect an engineered wood floor?
- Yes. In A mode, set the maximum floor temperature limit to the value the flooring manufacturer gives. The thermostat then caps the floor at that temperature while it regulates the room.2
- Does it need a Sinopé GT130 hub?
- No. Sinopé’s installation guide covers pairing with the GT130 or with a compatible Zigbee gateway. It joins the Zigbee radio on an EpiSensor Gateway and Edge reads it locally.2
Related devices
Sources
- TH1300ZB smart floor heating thermostat technical sheet (opens in a new tab) (PDF)
- TH1300ZB installation guide (opens in a new tab) (PDF)
- TH1300ZB submittal datasheet (opens in a new tab) (PDF)
- How do I remove my thermostat from the Zigbee network? (opens in a new tab)
- Sinopé TH1300ZB device documentation (opens in a new tab)
- Sinopé TH1300ZB Zigbee definition (opens in a new tab)
Further reading
Product names and trademarks belong to their owners. Publication does not imply endorsement or a commercial relationship.